Just picked up an Xbox Series S? We’ll show you how to set it up properly so you can dive into your new console right away.
Below you’ll learn how to get started with your Xbox Series S, including what’s in the box, how to connect everything, and an explanation of the setup process. Most of these steps also apply to the Xbox Series X since the steps are similar, but this is written with Series S owners in mind.
Unboxing and Connecting Your Xbox Series S
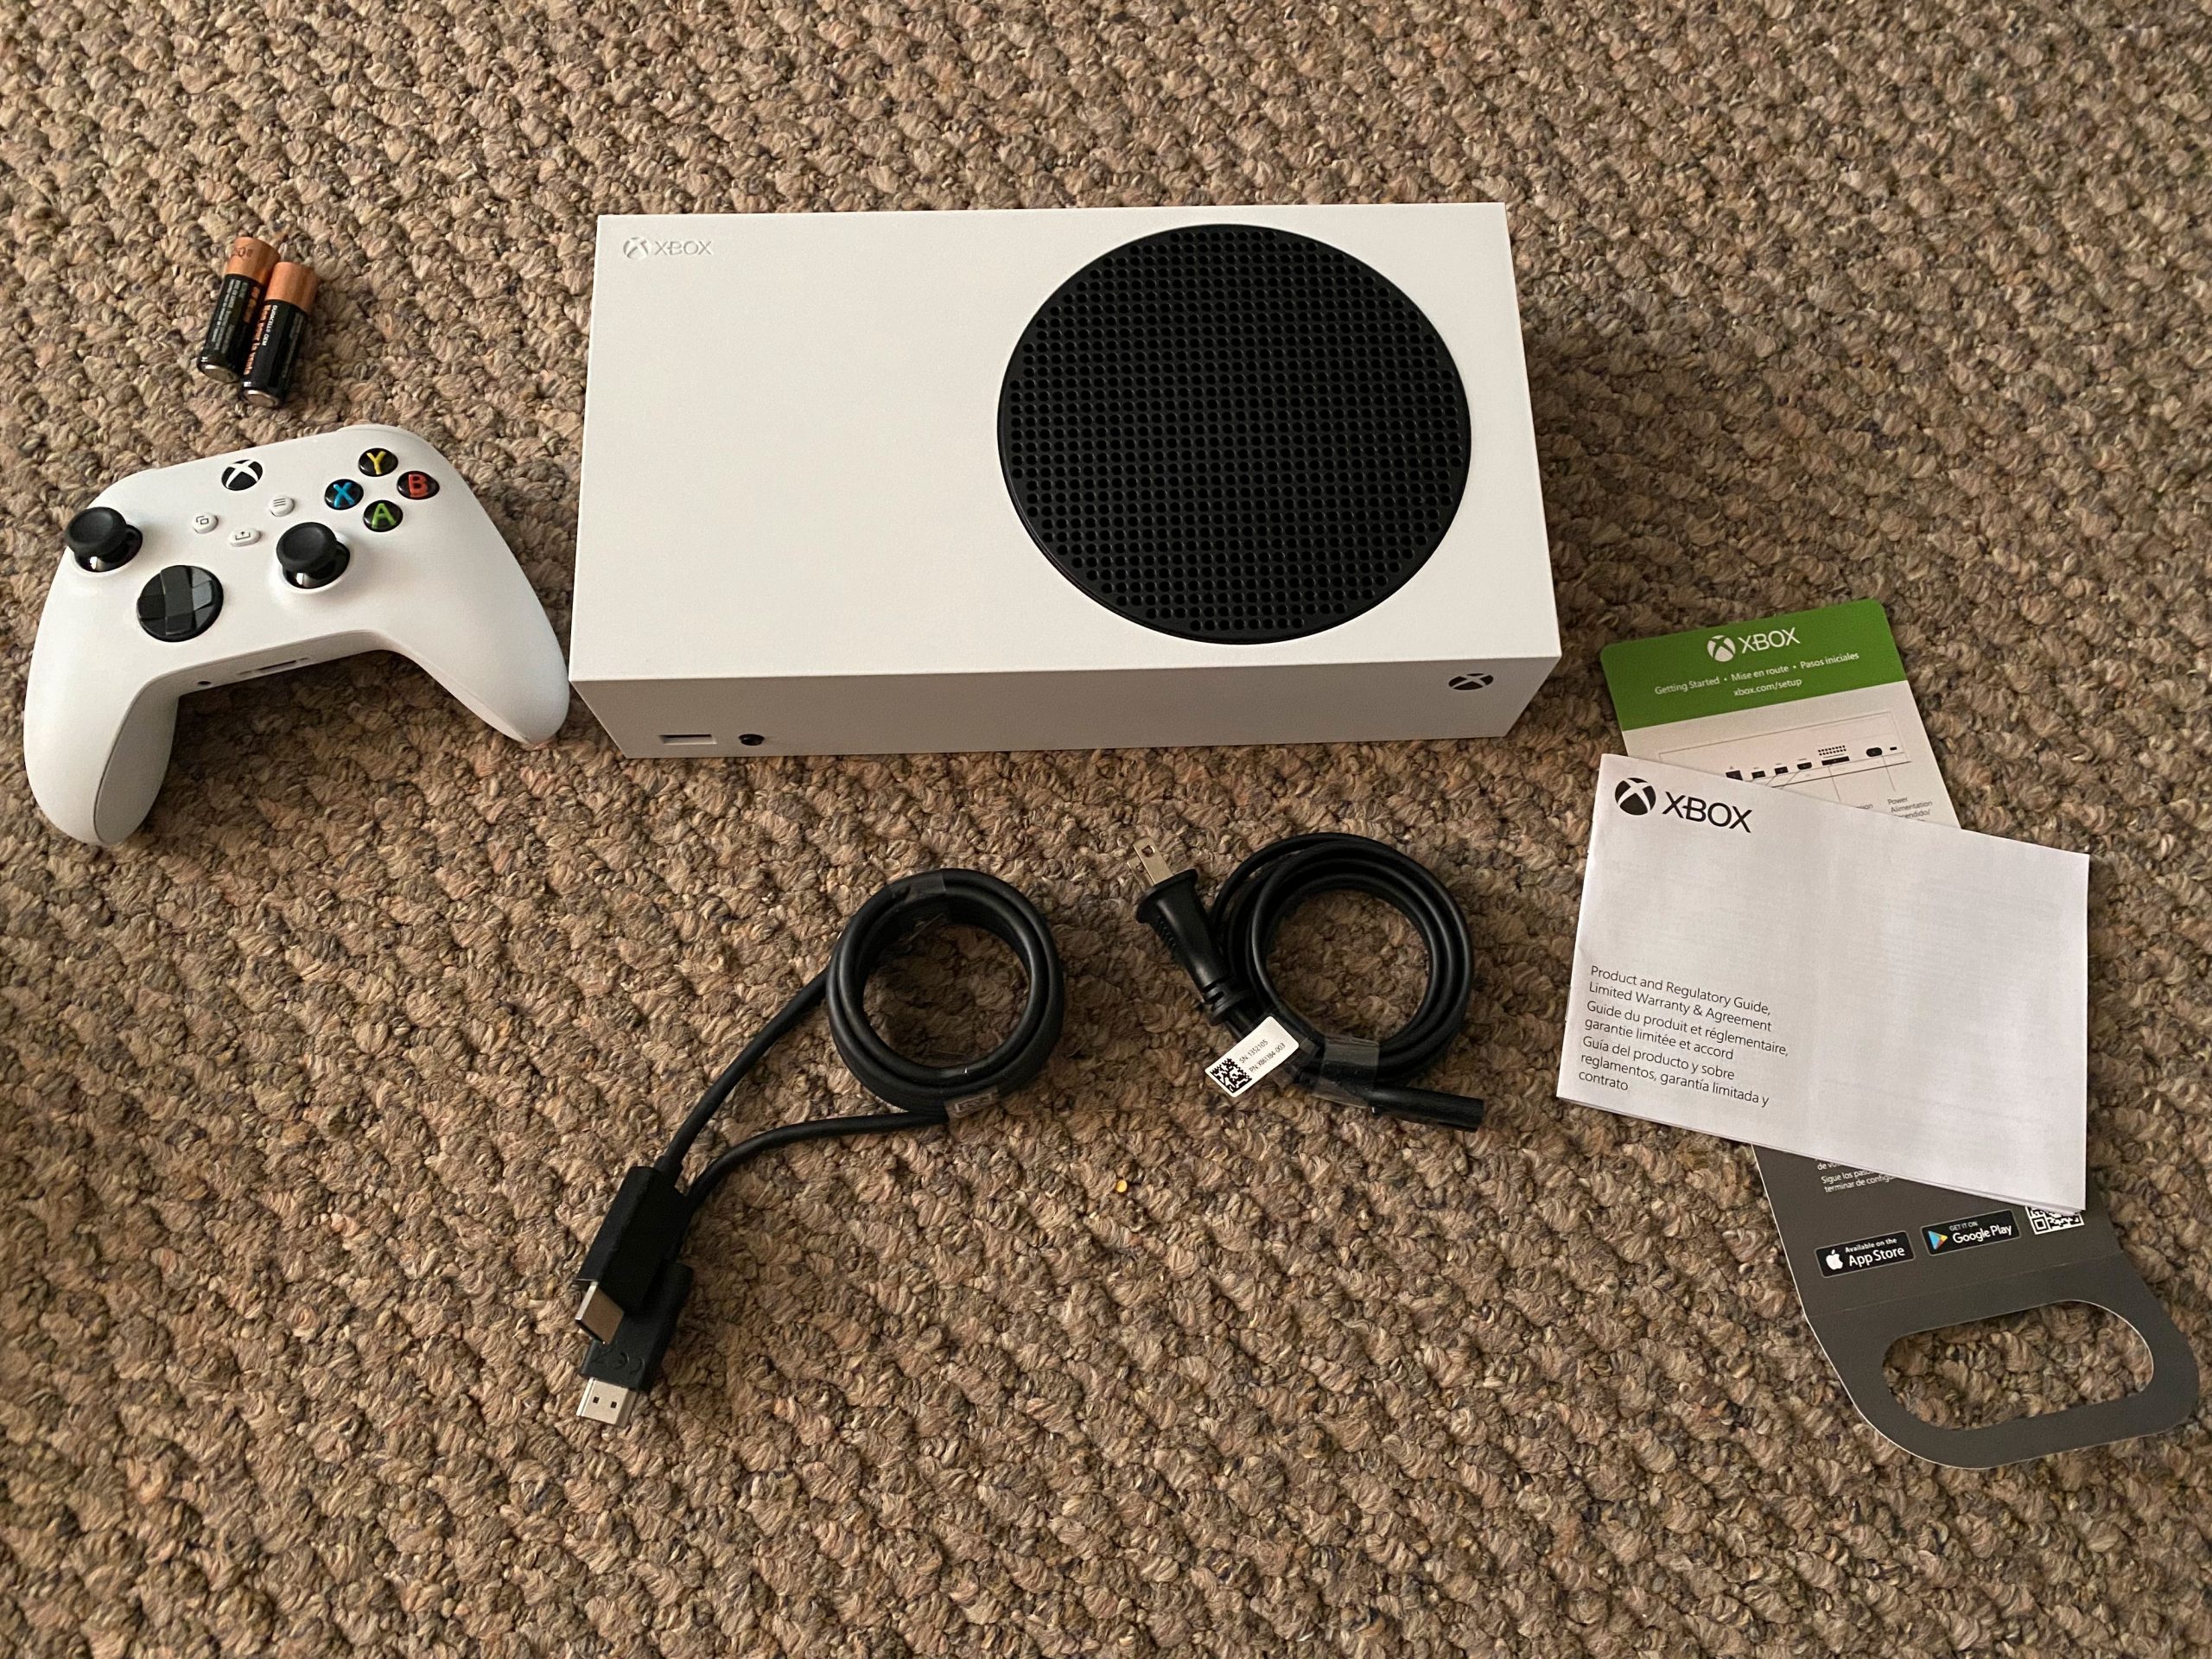
Crack open the box, and you’ll find the following items inside:
- Xbox Series S console
- Xbox controller, with two AA batteries
- Power cord
- HDMI cable
- Setup guide and regulatory information

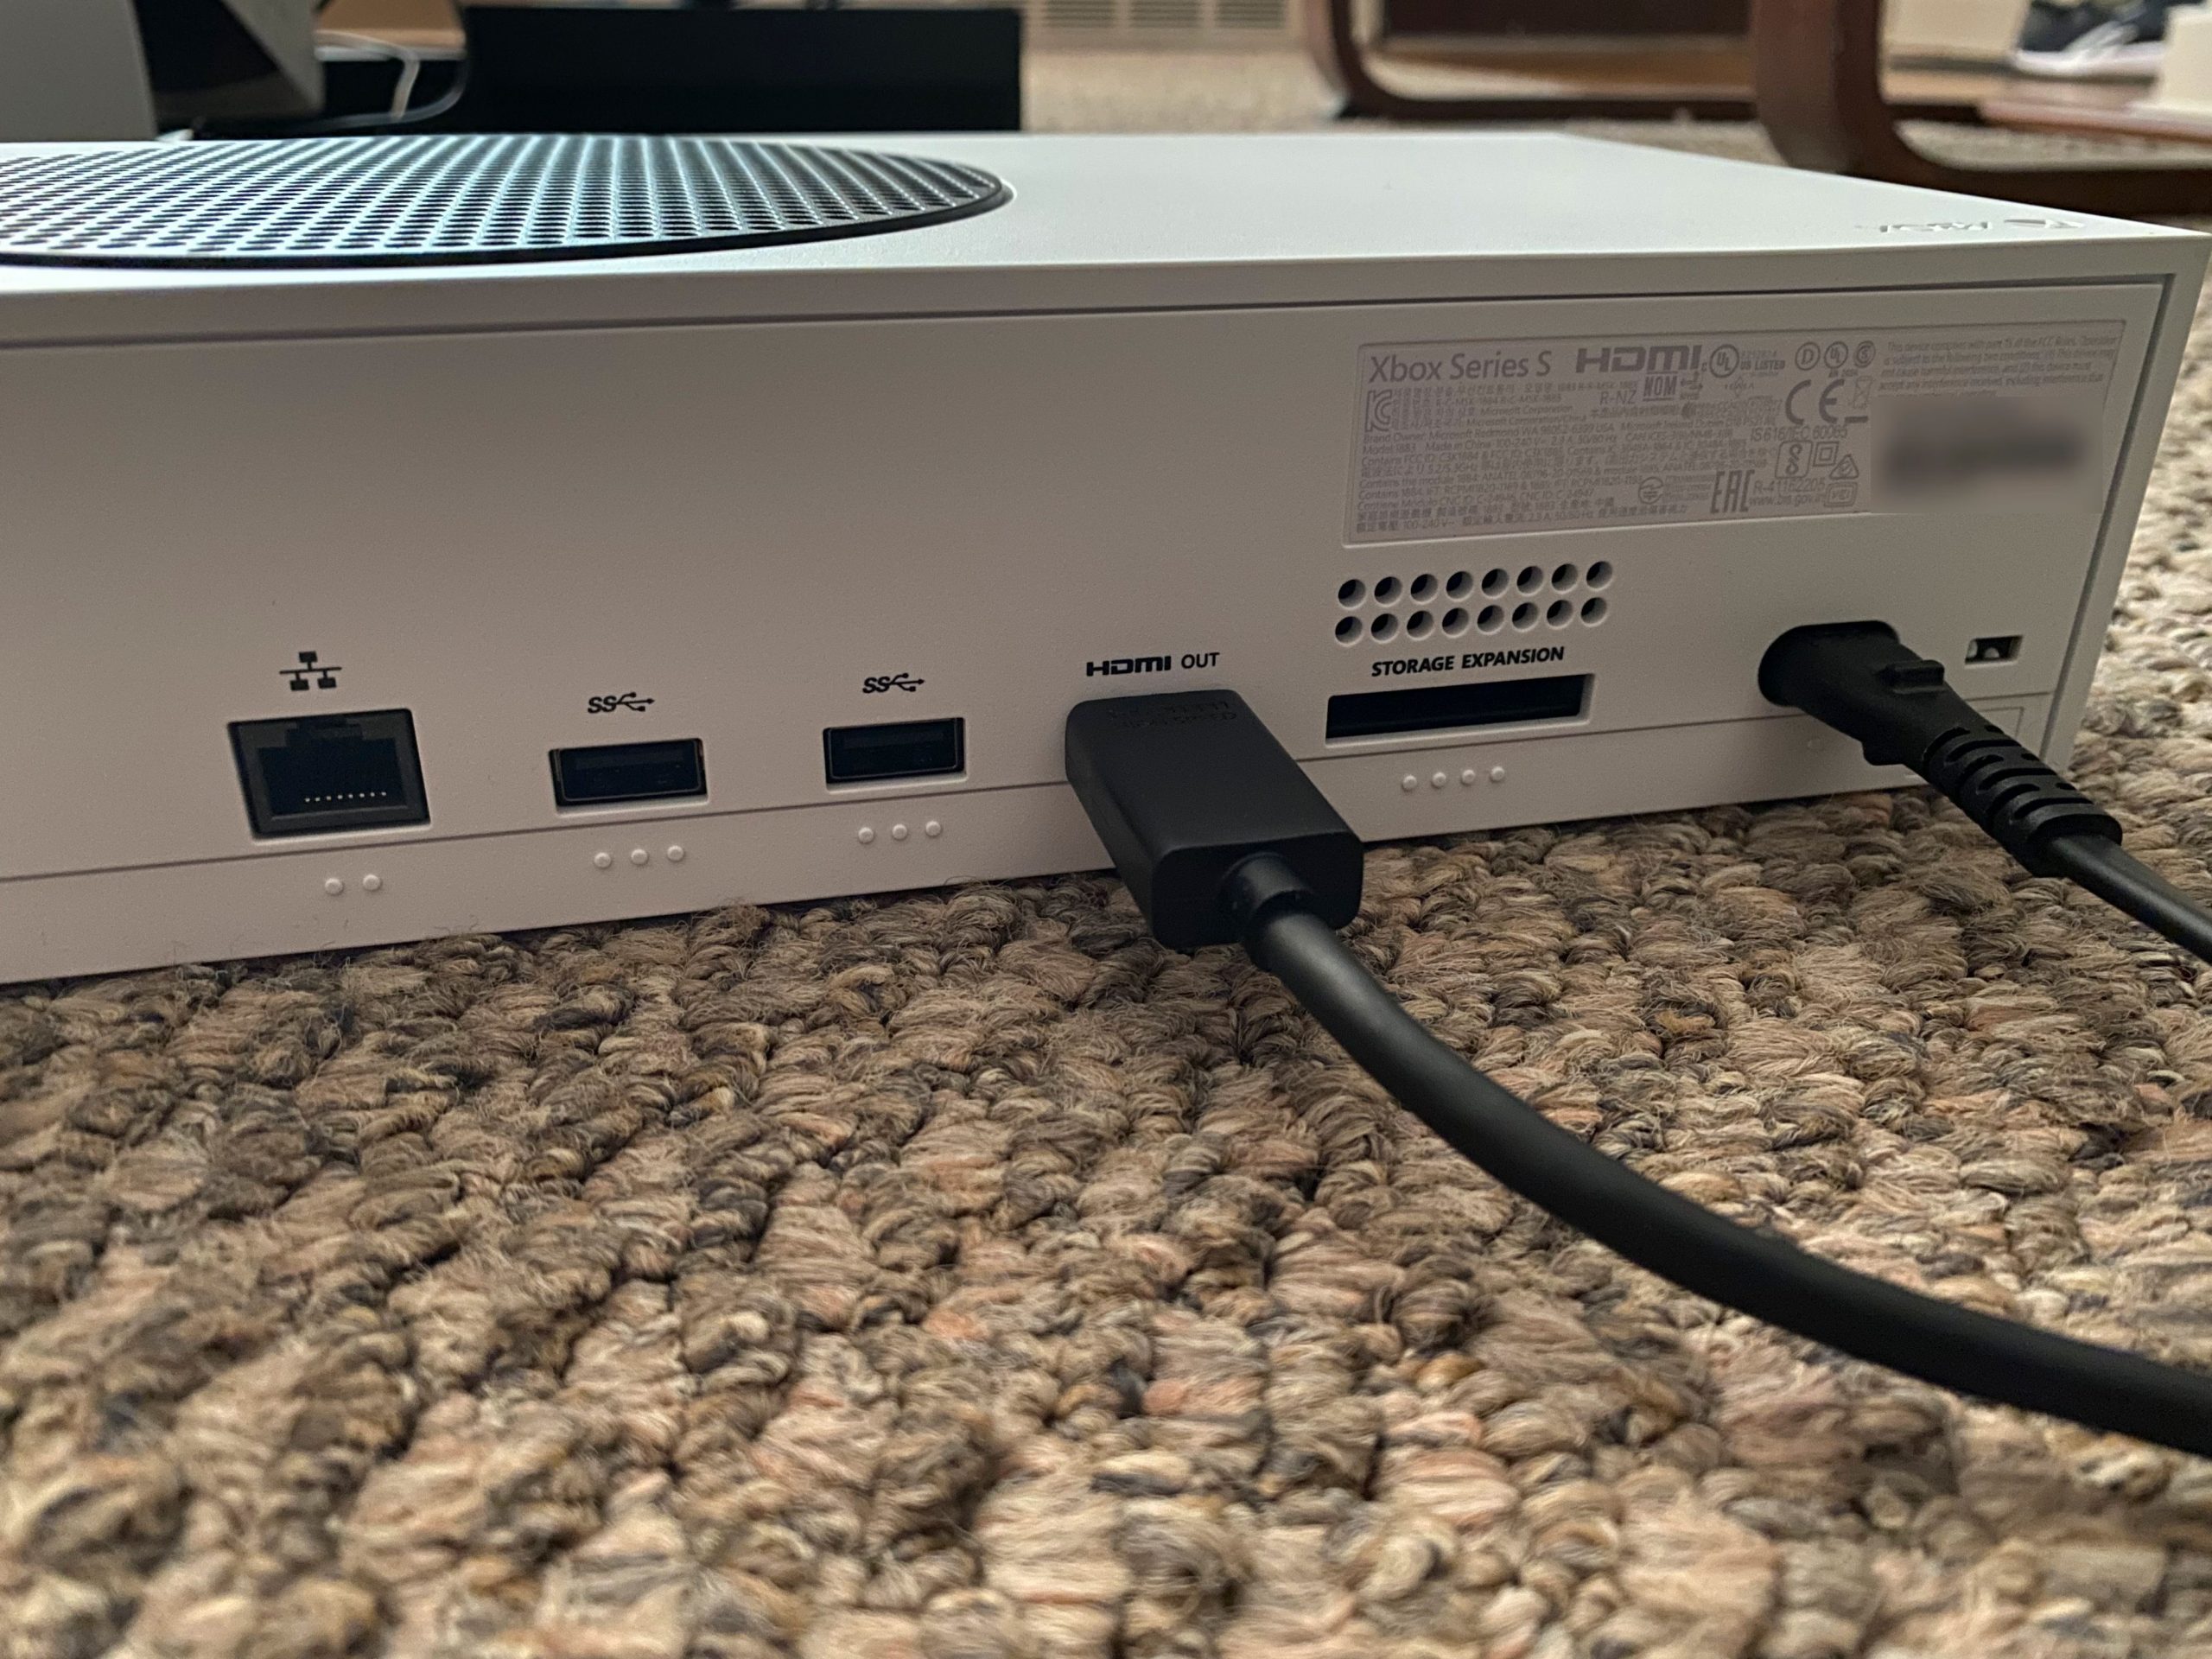
Unwrap everything and plug the HDMI and power cables into the back of the system. If you want to use a wired network connection, plug an Ethernet cable into the back of your console too.
Connect the cables to your TV and power, then press the Xbox button on the front of the system to turn it on. You’ll soon see a screen prompting you to begin Xbox setup.

Xbox Series S Initial Setup
The best way to set up your new Xbox is by using the Xbox app for Android or iPhone. Download the app if you don’t have it already.
On the initial screen, you can tap Set up console to begin the process. If you’re already signed into the Xbox app, tap the Setup button at the top-right of the Home tab (it looks like a little console) and choose Get Started > Set up a new console to begin the process.
Now, in the app, enter the 10-digit code displayed on your TV and choose Connect to Console. Your phone will ask to join a Wi-Fi network for your Xbox, which you should confirm. Depending on your phone, you may see other prompts here too. Approve them all for best results.
Once the connection is established, tap Next on your phone. Confirm your language and location.
Get Your Xbox Series S Online and Choose Power Options
Next, assuming you’re using a wireless connection with your Xbox, tap your Wi-Fi network from the list and enter its password.
After your console is online, you’ll most likely see a prompt to update your system. Once you start this, you can continue walking through setup on your phone.
The next step is to choose a power mode. Energy saving shuts off your console when you’re done using it, meaning it will take longer to start up when you boot the system. You can still resume games where you left off, but your console won’t automatically install updates while it’s shut down.
On the other hand, Instant on makes your console start up near-instantly, at the cost of increased energy usage. Your console will auto-update games while it’s “turned off.”
After choosing Instant On (as we did), for best results, enable Keep my games and apps up to date on the next screen. This minimizes the amount of time you’ll spend waiting for updates to run when you sit down to play.
The next page lets you turn on remote features. Enabling this allows you to install new games using the mobile app, as well as streaming your Xbox games to your phone.
Choose Security Options and Other Settings
Moving on, if you’re already signed into an Xbox profile, you’ll have to choose a security profile. Choose from the available options here, depending on your needs, as well as whether to enable instant sign-in. If you’re the only user of your Xbox, this is convenient.
Next, you’ll have the chance to add family members to your new system. Choose Skip if this doesn’t apply to you. The next panel allow you to see more about the data Xbox collects, if you want.
The app will then ask if you want to provide optional data about how you use your console, then explain more about data sharing.
After the legal matters, you’ll have the chance to give your Xbox a name. Follow our device naming tips if you need help coming up with something good. The following page allow you to decide whether you want to opt into offers from Xbox and partners.
In the next part, choose which apps you want to download on your console. Choices include YouTube, Netflix, Hulu, Spotify, and many others. Select each one and choose Install, then hit Next when ready.
If you have an existing Xbox console tied to your account, you can choose to copy your settings from that system. If not, choose Start Fresh to pick new options.
The next screen asks if kids will use your console; answer as applicable.
Connect Your Xbox Controller and Complete Setup
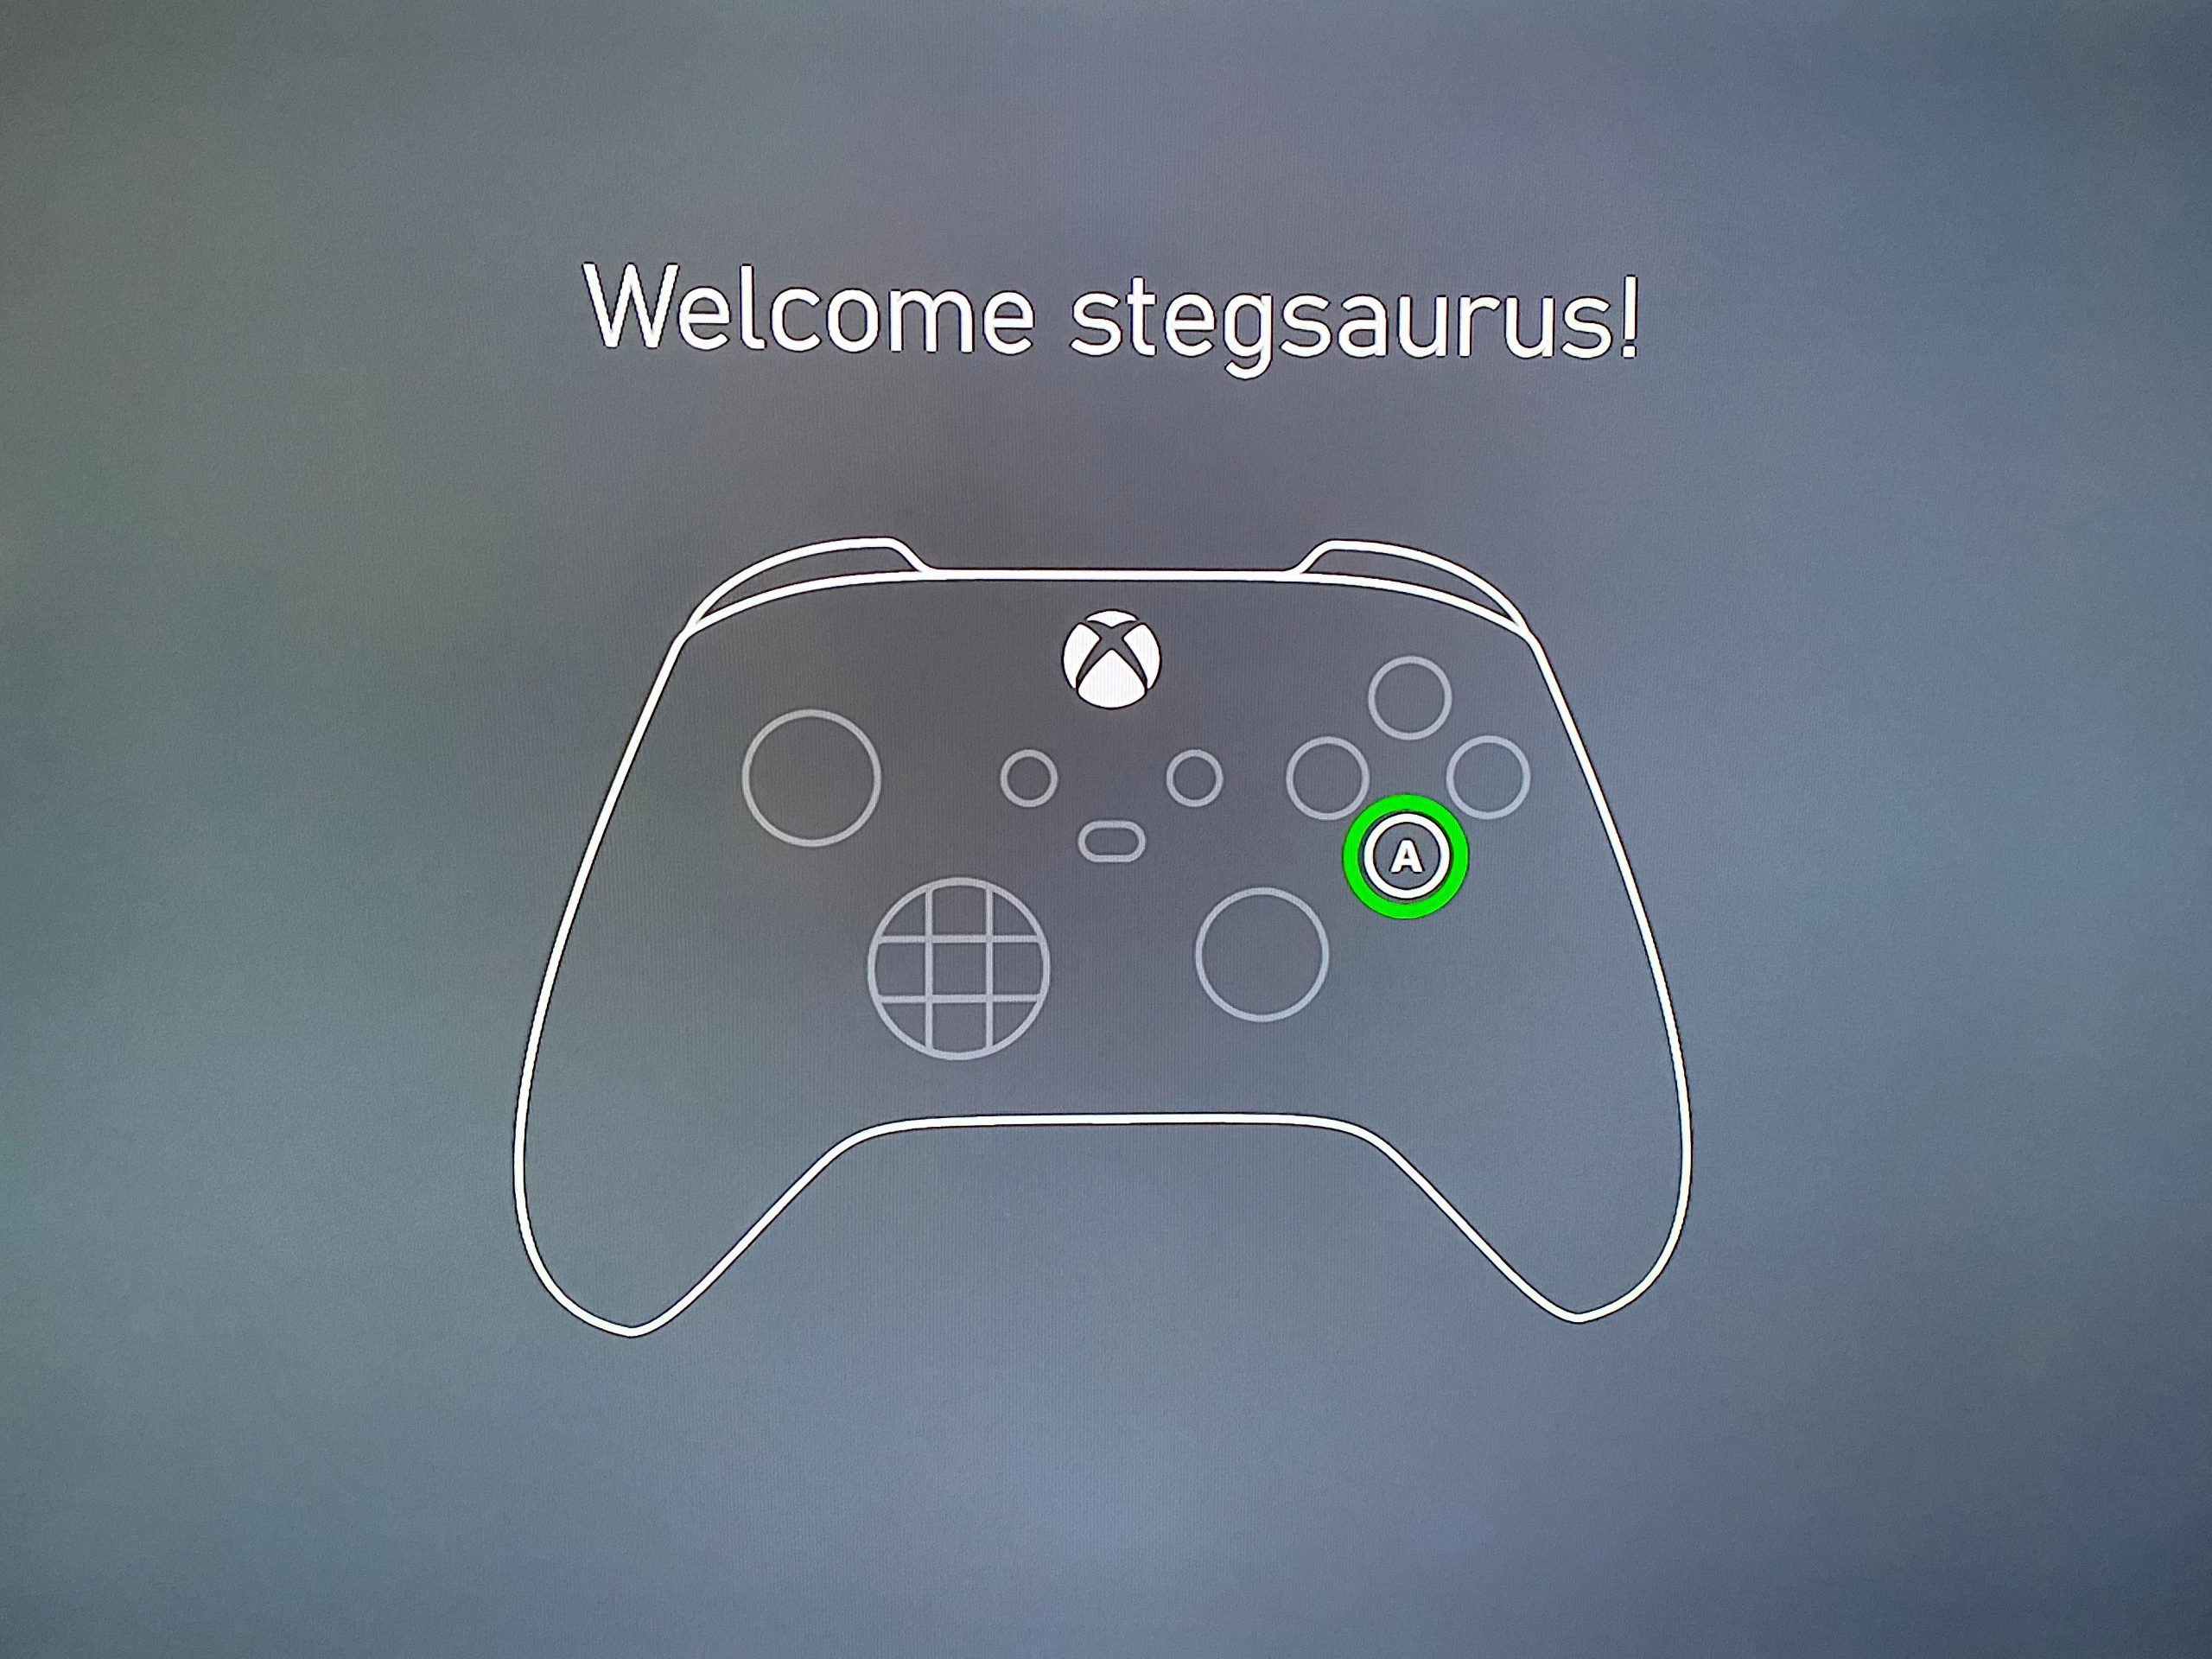
Once you’re all done, the Xbox app will bring you back to the Home tab. After a moment, you’ll see a prompt on your TV to connect your controller.
Put the AA batteries into the controller if you haven’t already, then press the Xbox button on the controller to turn it on. After it connects, hit the A button to begin.

If you need to pair your Xbox controller manually, press the Pair button on the front of your console, which is to the right of the front USB port. Then press the Pair button on top of your controller, to the right of the LB button.
You’ll likely next see a prompt to update your controller. Start the process, keeping your controller turned on and as still as possible while it runs.
Afterward, you’ll see a prompt to sign up for Xbox Game Pass Ultimate. This is an excellent value and one of the prime draws of owning an Xbox, but you can decide whether you want to try it anytime later on.
Moving on, depending on your TV, your Xbox may prompt you to set up “advanced video features,” such as 4K output. You can go to Settings > General > TV & display options later on to change these options.
Finally, you’re done! You’ll be greeted with the home screen of your Xbox Series S. Feel free to browse the Store, go to My games & apps to install games already linked to your Xbox account, check out Game Pass, and more.
Enjoy Your Xbox Series S
Now it’s time to enjoy your Xbox Series S! Thankfully, the initial setup is mostly painless, and completing most of the steps with the app is a lot smoother than using your controller to enter passwords and the like. Enjoy the next generation of gaming.
Image Credit: m.andrei/Shutterstock


