Photographers have been using luminosity masks for years to edit bright and dark areas in their photos. Unfortunately, traditional methods can be overly-complicated.
In this tutorial, we will show you how to easily create luminosity masks in a non-destructive workflow in Photoshop.
What Are Luminosity Masks?
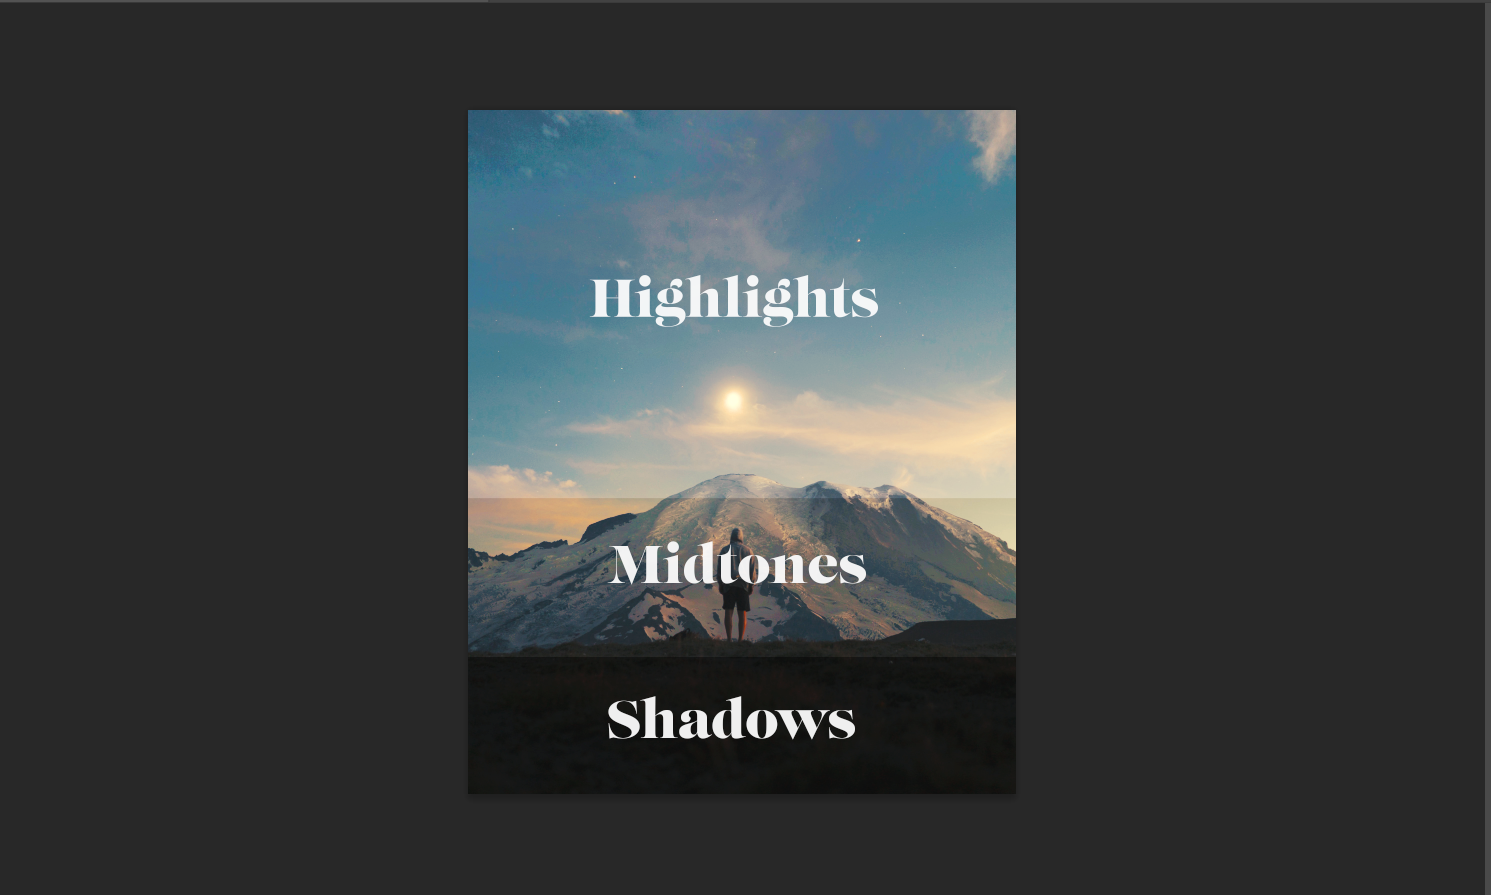
Luminosity masks serve to make selections of the highlights, midtones, and shadows in ways that basic Photoshop sliders can’t handle.
If you’ve used Adobe’s Camera Raw or Lightroom, you’ve probably used the Highlights and Shadows sliders to make broad adjustments to your images. Think of luminosity masks as more effective tools to selectively enhance brightness levels anywhere in your images with a lot more control.
Let’s begin by creating luminosity masks for the highlights, shadows, and midtones. We will use the same image for all examples to show you what kind of transformations are possible using luminosity masks.
Creating a Highlights Luminosity Mask
Feel free to use one of your own images to apply these techniques. Or if you’d like to follow along, you may download the example image from Pexels.
- Create a Curves adjustment layer. Then, click on the White layer mask so that it is selected.
- Go to Select > Color Range.
- Inside the Select menu, the options for luminosity masks include Highlights, Midtones, and Shadows. Select Highlights.
- Decrease the Fuzziness slider to 0.
- Go to Selection Preview at the bottom, and choose Quick Mask.
- Optional: To adjust mask opacity, click Cancel, and then double-click on the Quick Mask icon on the lower-left corner of Photoshop. Then, adjust Opacity to taste and click OK. After that, repeat steps two through five.
- Use the Range slider to determine the main area of the Highlights to be affected.
- Use the Fuzziness slider to fine-tune your Highlights selection in the image. Then, click OK. We used 30 percent for Fuzziness and 200 for Range.
- Double-click on the Curves layer (not the White mask), and raise the brightness by dragging the Curves line down until the Highlights are to your liking.
- Rename the Curves layer to “Highlights” by double-clicking on Curves 1, and pressing Return. This will help tremendously in keeping your layers organized.


Remember that you can always view the before and after results by toggling the Eye icon on and off in any layer.
As it stands now, this is only a subtle change in the luminosity. But as you will see in the following masks, these subtle changes quickly add up.
Creating a Shadows Luminosity Mask
- Create a Curves adjustment layer. Then, click on the White layer mask so that it is selected.
- Go to Select > Color Range.
- Inside the Select menu, the options for luminosity masks include Highlights, Midtones, and Shadows. Select Shadows.
- Decrease the Fuzziness slider to 0.
- Go to Selection Preview at the bottom, and choose Quick Mask.
- Use the Range slider to determine the main area of the Shadows to be affected.
- Use the Fuzziness slider to fine-tune your Shadows selection in the image. Then, click OK. We used 20 percent for Fuzziness and 40 for Range.
- Double-click on the Curves layer (not the White mask), and raise the brightness by dragging the Curves line up until the Shadows are to your liking.
- You’ll notice in our example that we also made very subtle changes to the Red and Blue channels. You may do the same by clicking on RGB to access the dropdown menu. Then, adjust the curves for each color channel.
- Rename the Curves layer to “Shadows” by double-clicking on Curves 1, and pressing Return. This will help tremendously in keeping your layers organized.


For this image, the luminosity masks make subtle but important changes. These changes are necessary for the Midtones luminosity mask, as well as the finishing touches that will be made on top of the luminosity masks.
You’ll notice more drastic changes when we create the Midtones luminosity mask next.
Creating a Midtones Luminosity Mask
- Create a Curves adjustment layer. Then, click on the White layer mask so that it is selected.
- Go to Select > Color Range.
- Inside the Select menu, the options for luminosity masks include Highlights, Midtones, and Shadows. Select Midtones.
- For Midtones adjustments, the panel options change. There are now two handles for the Range slider. The Fuzziness slider is likely already at 0 (if not, set to 0).
- Next, adjust both of the Range sliders to select the Midtones in the image. We used values of 80 and 190 respectively. For Fuzziness, we used 20 percent. Like before, make sure Quick Mask is selected in Selection Preview, and then click OK.
- Double-click on the Curves layer (not the White mask), and raise the brightness by dragging the Curves line up until the Midtones look brighter and more appealing.
- You’ll notice in this example that the RGB curve is more dramatic and reveals much more detail. We’ve also made very slight adjustments once again in the Red and Blue channels to help desaturate the sand.
- Rename the Curves layer to “Midtones” by double-clicking on Curves 1, and pressing Return.


As you can see in the layers stack, naming each layer makes it easier to go back and make adjustments. It also comes in handy for more advanced adjustments to stack on top of luminosity layers.
Advanced Adjustments Using Existing Masks
With all three luminosity masks in place, you’ll notice that we’ve revealed a lot more detail than what was previously there.
But there’s more to be done. It’s likely that if you’re using luminosity masks at all, then you’re probably using additional editing techniques to finesse your images.
Organizing Your Luminosity Masks
Let’s do some organizational work before we continue. All three luminosity masks can be grouped together for convenience.
- Left-click on the Midtones layer. With the Shift key pressed, click on the Highlights layer.
- Click Ctrl + G to group all layers into a folder.
- Name the group “Luminosity Masks” by double-clicking on Group 1, and pressing Return.


Using Overlay Blend Mode to Brighten the Shadows
By using overlay blend mode in Photoshop, we can brighten select regions of the mountains and the valley. We will fix the shadows in the sand at the end.
- Click on the Create A New Layer icon at the lower-right corner of Photoshop. Alternatively, click Shift + Ctrl + N, and then click OK.
- Change the Blend mode from Normal to Overlay.
- Click B for the Brush tool. Select Soft Round Brush in the brush settings.
- Change the Flow to 10 percent. Then, paint in light to brighten the mountains and the valley in the middle of the image.


If you go too far with a brushstroke, hit Ctrl + Z to undo. Don’t forget to use the bracket keys [ ] to increase or decrease the size of your brush.
Use Free Plugins for a Finishing Touch
You can create great effects with Photoshop plugins, such as the Nik Collection. Sometimes, these plugins even serve to help out with existing problems, like dark shadows.
The Graduated Fog filter in the Nik Collection’s ColorEfex Pro works well with this image as a foreground element. It helps brighten the shadows and lends the image a new look without going over the top in the editing department.
- For this image, we need a Stamp Visible layer in order for the Nik plugin to work on top of the layer stack. Click Shift + Ctrl + Alt + E to create this buffer layer.
- Go to Filter > Nik Collection > Color Efex Pro 4.
- Select Graduated Fog in the left menu.
- Select 03 Foreground. Then, adjust the sliders in the right-side panel to raise the shadows in the foreground. When you’re finished, press OK.
- To lighten the shadows in the sand dunes even further, create a Curves adjustment layer by clicking on the Create A New Fill Or Adjustment Layer icon. Select Curves.
- Choose the Hand Selection tool.
- With your mouse, click on the shadows on the right side of the sand dune. Then, drag the Curves bar upward to lessen the shadows.
- Click on the White Curves mask (not the Curves icon). Then, click Ctrl + I to invert the mask to Black.
- Press B for the Brush tool. Toggle the X key to make the Foreground color White.
- Using the mouse, paint in the light over the shadows in the sand dunes. In this example, we reduced the Flow to 60 percent, and reduced the Curves layer Opacity to 50 percent.


Toggling between black and white as foreground colors (X key) allows you to paint in, or to erase the effect. This is helpful when you want to restore the contrast and color of the woman in the image.
Luminosity Masks are Great for Landscape Photographers

It’s easy to see why luminosity masks are such great tools for landscapes and other images that require the brightening or darkening of specific regions in an image.
The power of luminosity masks lies in their flexibility to be used with many other Photoshop tools in your editing workflow.
Image Credit: Johannes Plenio/Unsplash