Connecting your Mac to a Wi-Fi network should be easy. You click the Wi-Fi icon, select the network you want to join, and enter the network’s password if necessary.
However, this process might not always go according to plan. We’ll walk you through connecting your Mac to a Wi-Fi network, even when it doesn’t want to connect properly.
1. Confirm Proper Network Operation
The first troubleshooting step is to check whether your Wi-Fi network is working normally. The simplest way to do this is to try connecting with other devices.
If another device manages to connect, you know it’s your Mac that has the issue. However, if other devices also can’t get online, that’s a sign your Wi-Fi network has a problem.
In case your Wi-Fi network isn’t working properly, try the following tips:
- First, you should simply try rebooting the Wi-Fi router. Switch it off, wait for a minute or so, and then switch it back on. In many cases, this will resolve the issue.
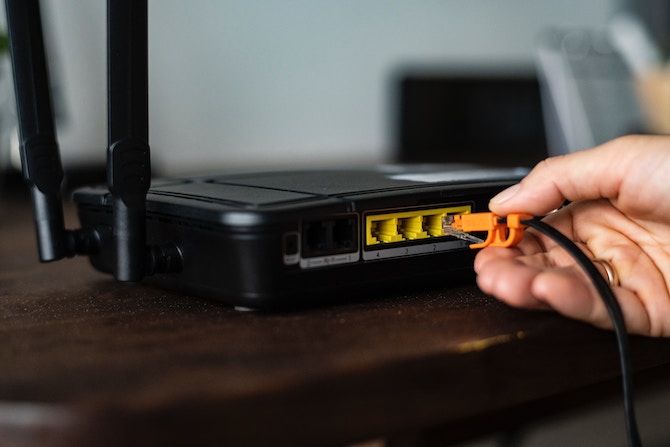
- Next, make sure your router’s cables are connected properly. If they are, try connecting the router using a different cable, as the current one could be faulty.
- If neither of these actions work, you should try contacting your internet service provider (ISP). Perhaps there’s a network outage in your area. Contacting your ISP lets them investigate and send an engineer if necessary.
See our quick guide on troubleshooting your internet connection for more help.
2. Double-Check Your Ethernet Cable

If you connect your Mac to your network using an Ethernet cable, you should check whether this cable is still working as it should. First, make sure it’s securely connected to your Mac and to your router. After you confirm it’s secure, try replacing it with a different cable.
Try connecting without a cable to see if that works. Conversely, if you normally connect without an Ethernet cable, try connecting with one. This can help you get online temporarily as you nail down the wider issue.
3. Check Range and Interference
When you connect your Mac to Wi-Fi, make sure it isn’t too far away from the router. Likewise, make sure your router is in an appropriate location. You shouldn’t place it behind any (thick) walls. Keep it away from obstructions. And it’s best to put it in a central location of your house or apartment; avoid putting it at an edge.
You should also make sure your router is free from other kinds of interference. Don’t put it near electric cables, cordless phones or video cameras, microwaves, or anything that might transmit an electrical signal. Some users also report that switching off Bluetooth can help, since Bluetooth signals might interfere with Wi-Fi.
These are just a few of the reasons your Wi-Fi can be so slow.
4. Review the Obvious

Assuming there’s nothing wrong with your network or router, there are a couple of basic steps to review before you proceed.
First, you should see whether your Mac’s Wi-Fi is actually turned on. You can see this by clicking the Wi-Fi icon on the right-hand side of the top menu bar. If it’s on, it will display the Wi-Fi symbol as normal, with arcs inside it. When Wi-Fi is turned off, this symbol appears blank.
If it’s off, select the blank Wi-Fi symbol and click Turn Wi-Fi On. Your Mac will then connect automatically to any known Wi-Fi networks. If there aren’t any known Wi-Fi networks in the vicinity, you’ll have to select one manually.
Second, ensure that you’re choosing the correct Wi-Fi network. Perhaps you can’t connect because you’ve selected the wrong network. You should thus click the Wi-Fi icon in the menu bar and select your Wi-Fi network from the dropdown menu that appears.
5. Update macOS

It’s always wise to check for OS updates when you have system issues. If you have a new version macOS ready to install, upgrade your Mac’s operating system and see if that fixes your problem.
On macOS Mojave or later, upgrading is easy. Here’s what to do:
- Click the Apple logo in the top-left corner of the screen and choose About This Mac.
- Hit the Software Update button.
- If an update is available, click Update Now.
If you’re running a version of macOS older than Mojave, you can update by launching the App Store and opening the Updates section.
6. Forget Your Wi-Fi Network

Another trick you can try is making your Mac forget the Wi-Fi network you’re having problems with.
Do this by by opening your Mac’s network preferences, as described below:
- Click the Apple logo in the top-left corner and choose System Preferences.
- Select the Network category, then click Advanced inside its panel.
- Choose the network you’d like to forget and hit the minus sign.
- Click OK, then Apply.
You’ll then have to reconnect to the Wi-Fi network manually. Do so by clicking the Wi-Fi icon on the right side of the menu bar. Next, select the Wi-Fi network you want and enter its password.
7. Change Your Wi-Fi Router’s Channel

Routers connect to the internet using one of several Wi-Fi channels. Sometimes your router’s current channel suffers from interference or congestion. Because of this, changing your Wi-Fi channel can help when you experience connection problems.
To change the channel you’re using, you need to find your router’s IP address. To do this, follow the instructions in the below section to access the TCP/IP tab of the settings for your network. There, you’ll find your router’s IP address next to Router.
You should then copy and paste this into the address bar of your browser. This lets you log into the router to manage it; to do so, you’ll need to enter its password. If you don’t know it and haven’t changed it, you can likely find the default password with a Google search of your router model.
The exact layout of your router’s configuration will vary by model. However, you generally have to go a Wi-Fi settings page and find the list of channels. From there, just select the channel you’d like to use.
8. Check Your TCP/IP Settings

Your Mac’s TCP/IP settings define how it communicates with other devices. It’s therefore worth checking them if your Mac won’t connect to Wi-Fi.
In particular, renewing your DHCP (Dynamic Host Configuration Protocol) lease can get your connection working running again. That’s because it’s responsible for assigning IP addresses to your Mac.
Here’s how you renew it:
- Click the Apple logo in the top-left corner of your screen and open System Preferences.
- Select Network, then hit the Advanced button.
- Switch to the TCP/IP tab.
- Click Renew DHCP Lease.
9. Change Your Domain Name System (DNS) Settings

DNS is the system used to match website domain names with IP addresses. Sometimes, changing the DNS servers your Mac uses can help you connect to the web. Changing your DNS settings can even speed up your connection.
And given that there are a number of public DNS servers available, this is fairly easy to do:
- Click the Apple logo in the top-left corner of your screen and open System Preferences.
- Select Network, then hit the Advanced button.
- Click the DNS tab.
- Click the Plus sign underneath the DNS Servers column.
- Enter the IP address for the DNS server you’d like to use. For example, the address of Google’s Public DNS is 8.8.8.8.
- Click OK, then Apply.
Here’s a list of other public DNS servers, in case you’d like to shop around:
- Google: 8.8.8.8 and 8.8.8.4
- Cloudflare: 1.1.1.1 and 1.0.0.1
- OpenDNS: 208.67.220.220 and 208.67.222.222
- Comodo Secure DNS: 8.26.56.26 and 8.20.247.20
- DNS Advantage: 156.154.70.1 and 156.154.71.1
When In Doubt, Contact Your ISP
If none of the above solutions work, you should try contacting either your ISP or your network administrator. Hopefully this isn’t necessary, since the above steps cover pretty much every Wi-Fi problem scenario. They’re also worth trying if your Wi-Fi connection is a little slow.
Read the full article: Mac Won’t Connect to Wi-Fi? 9 Steps to Get Back Online


