Going with paid SSL certificates when starting a new blog or e-commerce store is expensive. To keep costs down, you should get a free SSL for your website during your first project. You can then replace it with a paid one at any time.
In this article, you’ll learn how to get a free SSL certificate for your website through Cloudflare or your hosting company.
Let’s get to the bottom of what SSL is and why we need it before moving on to the installation process.
What Is an SSL Certificate?
SSL stands for “Secure Socket Layer”. It’s an internet protocol that encrypts the data transferred from a person’s browser viewing your website to the server where your site is hosted. This completely secures the encryption process.
Why Do You Need an SSL Certificate?
This is a much-needed protocol for your website security and makes it more trustable in the eyes of visitors coming to your website.
If a website doesn’t have an SSL certificate installed, Google will flag it as insecure to users, and Google’s ranking of a site can drastically drop with no trust from users. Thus, if you don’t have an SSL certificate, you might not rank as high as you could.
If you run an e-commerce store, companies like Paypal and Stripe will require you to secure a connection using SSL before accepting any payments through your website. Thus, without SSL, you can’t even run an e-commerce store.
How to Get a Free SSL Certificate From a Hosting Company
Almost all popular hosting companies offer free SSL when you host your site on their servers. To use this feature, you only need to enable it from the Hosting admin area and configure it using the Really Simple SSL plugin within WordPress.
This article describes how you can get free SSL certificates on your website hosted with Bluehost. The process is nearly the same for other hosting companies as well.
Steps to Get an SSL Certificate for Your Website
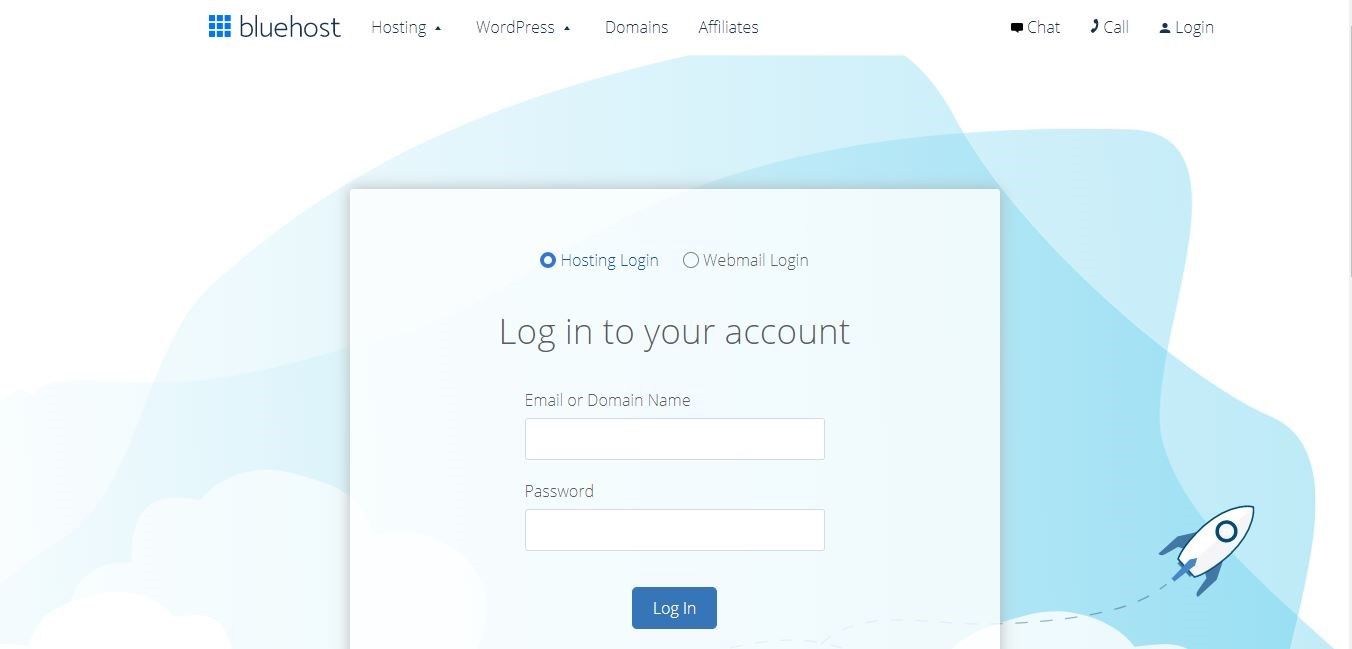
1. Log in to your Bluehost account.
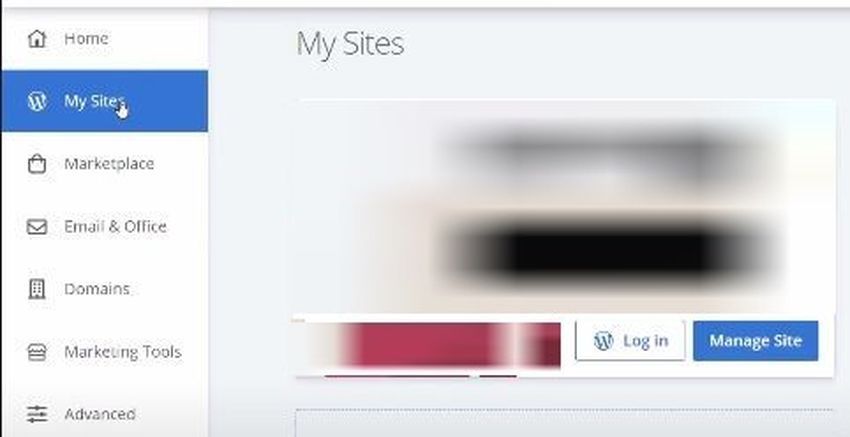
2. Select the website you want to install the SSL on from My Sites if you have more than one website.
3. Go to Manage site.
4. Out of all the tabs, select Security.
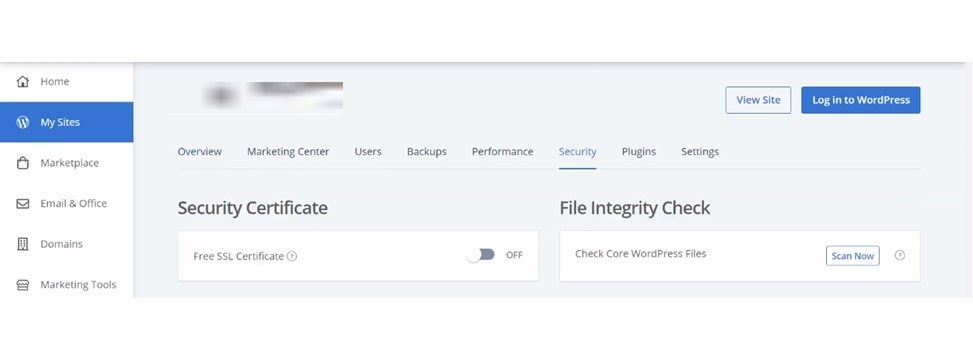
5. Under Security, you’ll see a little toggle for Free SSL Certificate.
6. To get the SSL certificate, toggle it on.

If it’s already on, that means Bluehost has already set up the SSL on your website. If not, follow the above steps to turn on the Free SSL Certificate.
Lastly, install and activate the Really Simple SSL plugin in WordPress to enable SSL on your website right away.

How to Get Free SSL With Cloudflare
Cloudflare is a second option if the hosting company does not provide Free SSL. Cloudflare is a website security company that provides network delivery services, DDoS mitigation, internet security, and other related security services.
Although it offers multiple paid plans with dozens of features, we’re going to use a free account to get SSL for the example website in this article.
1. Go to Cloudflare’s official website and sign up for an account.
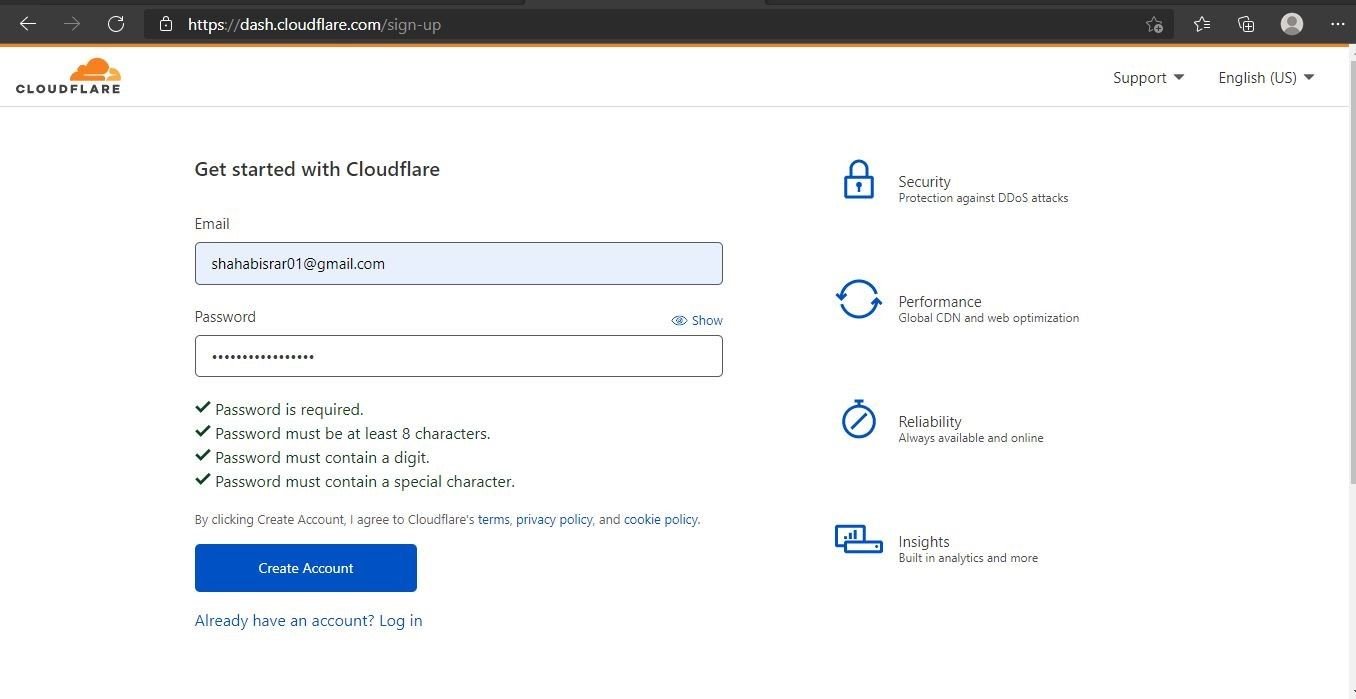
2. Add your website to this account so you can integrate SSL on it.
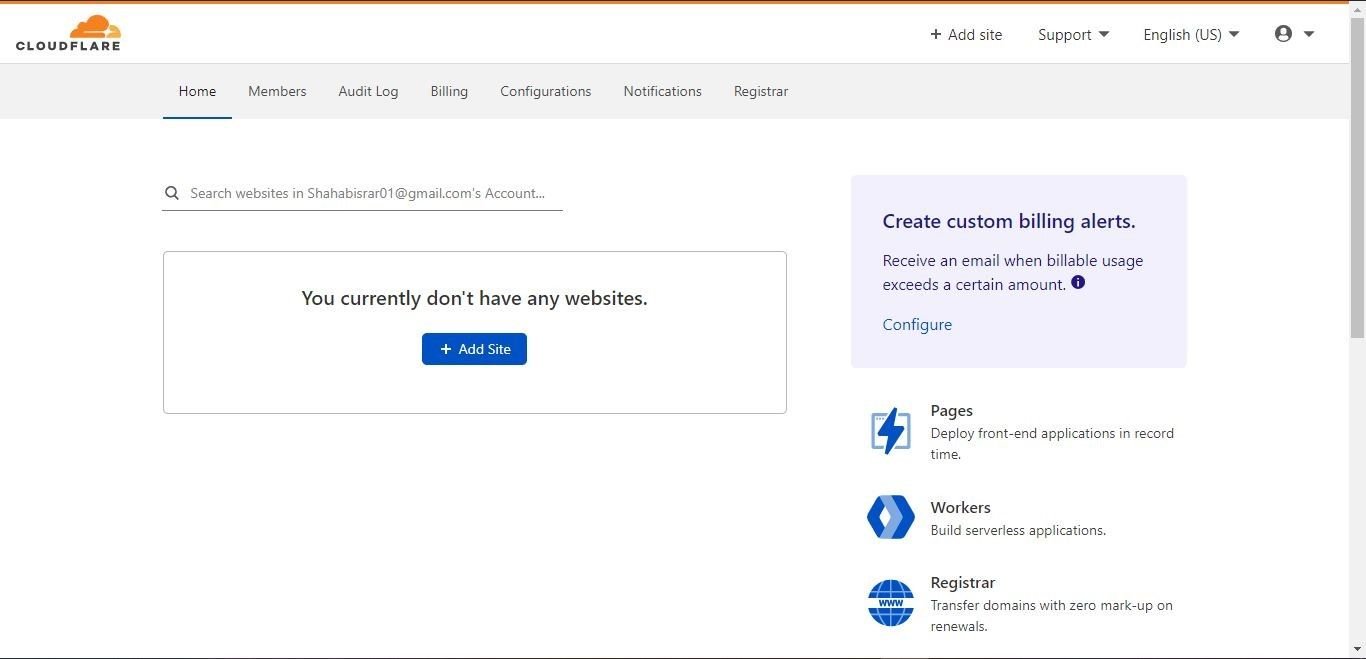
3. Select the Free Plan and click continue.

4. Cloudflare will automatically scan your DNS records once you select the free plan. Don’t make any changes and click continue.

5. Add the nameservers provided by Cloudflare to your domain. For that, first log in to your domain provider’s website, which is Namecheap for the website in this example.
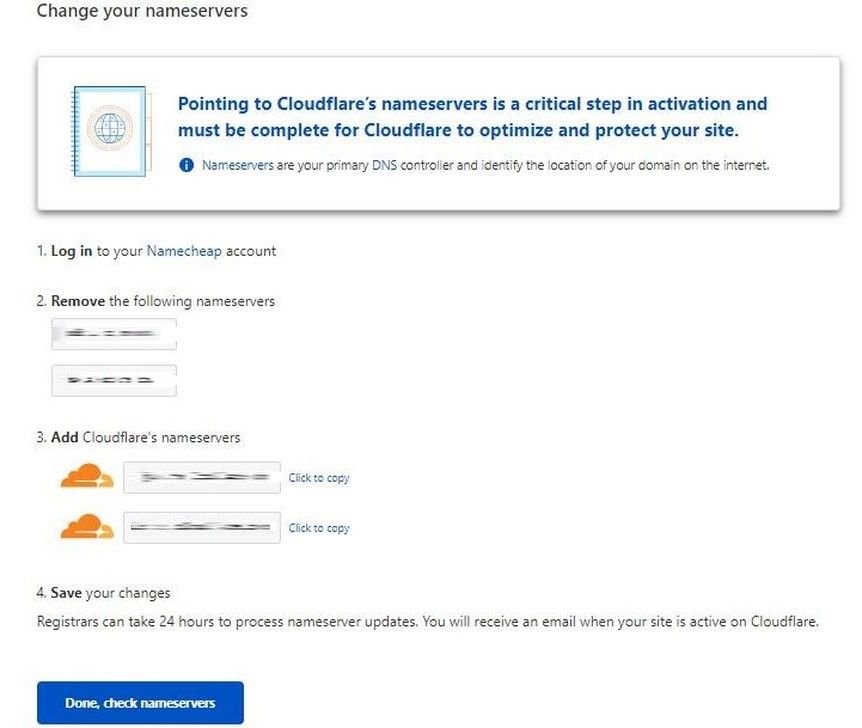
6. Go to the dashboard on your domain provider’s website and click on Manage Website.
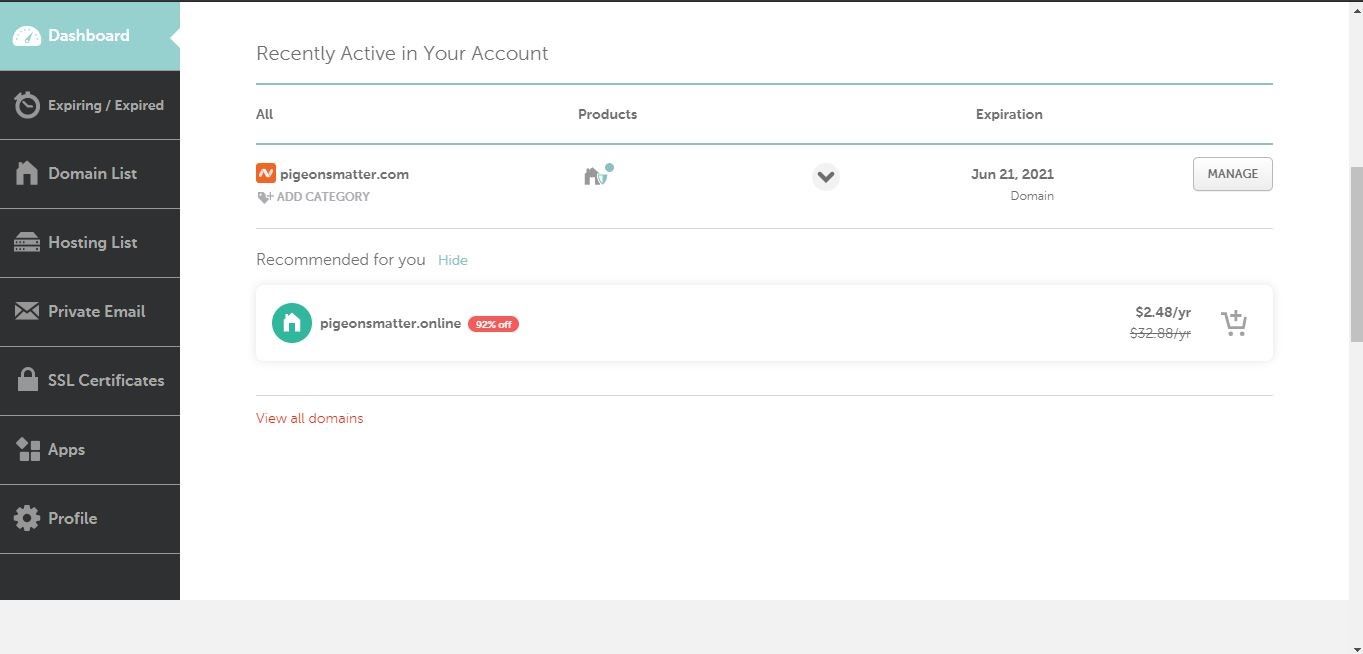
7. Change Nameservers with the ones from Cloudflare.
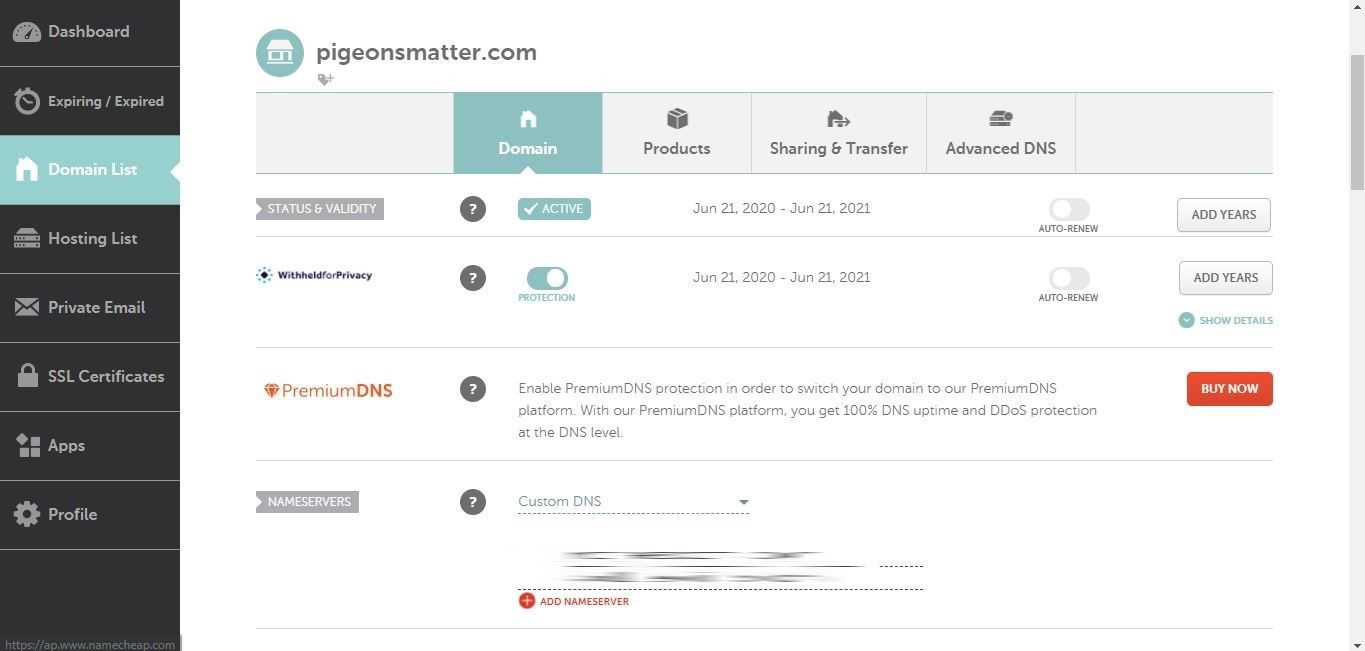
8. After changing nameservers, go to Cloudflare Dashboard and click the Check nameservers button to ensure they are configured correctly.
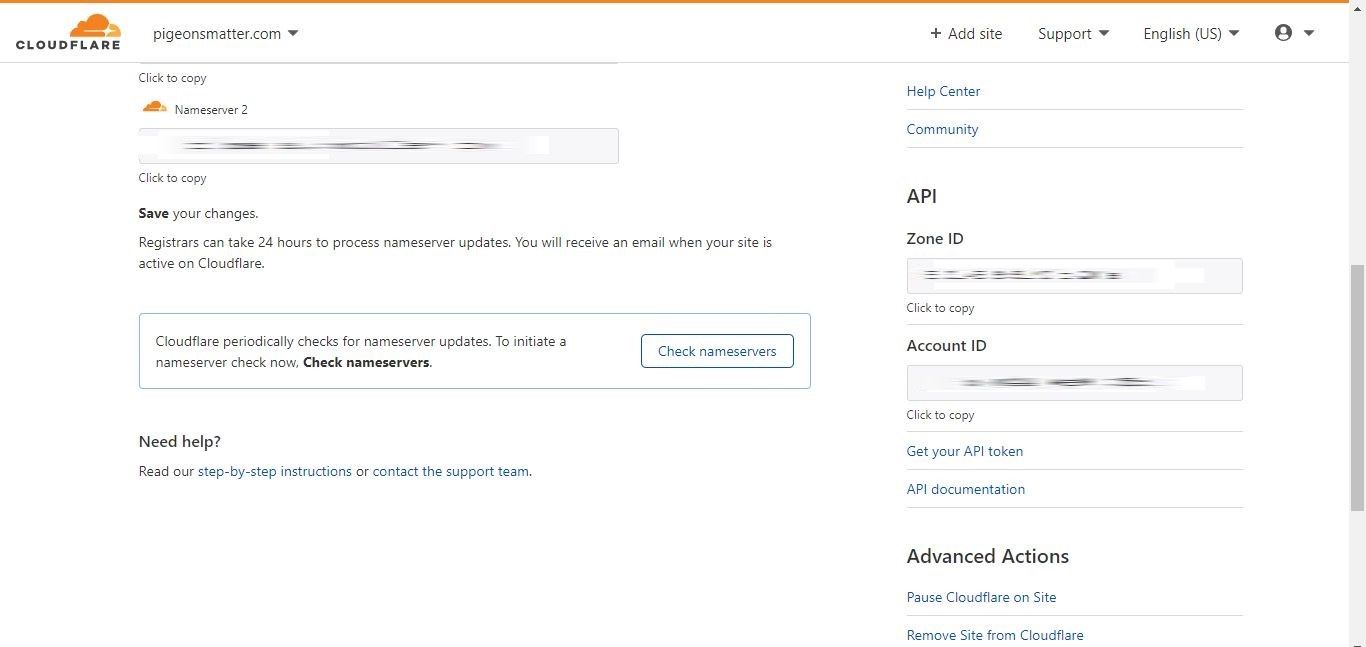
9. If your nameservers were successfully changed, you’ll see a green message verifying that your nameservers were altered correctly.
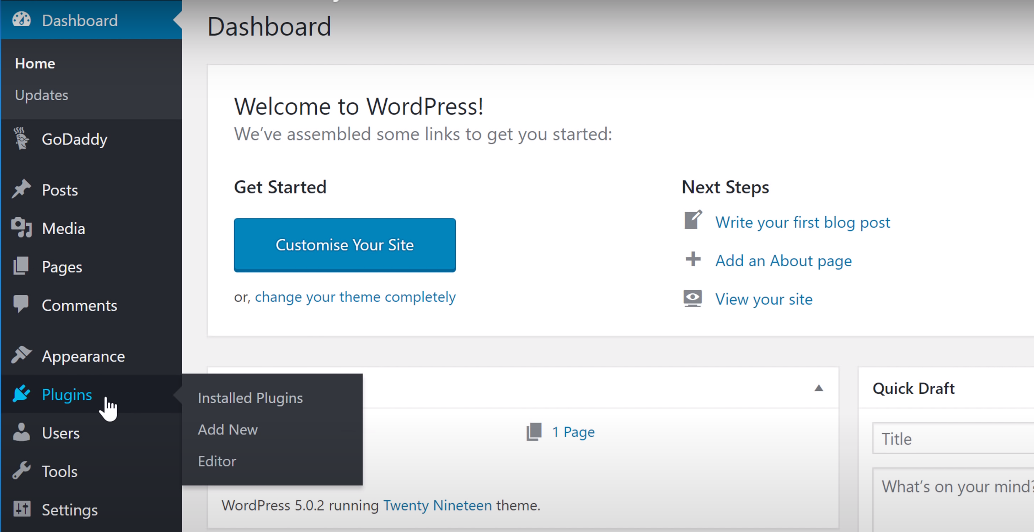
10. In the next step, you need to install the Cloudflare Plugin in WordPress. For that, go to Plugins and click on Add new.
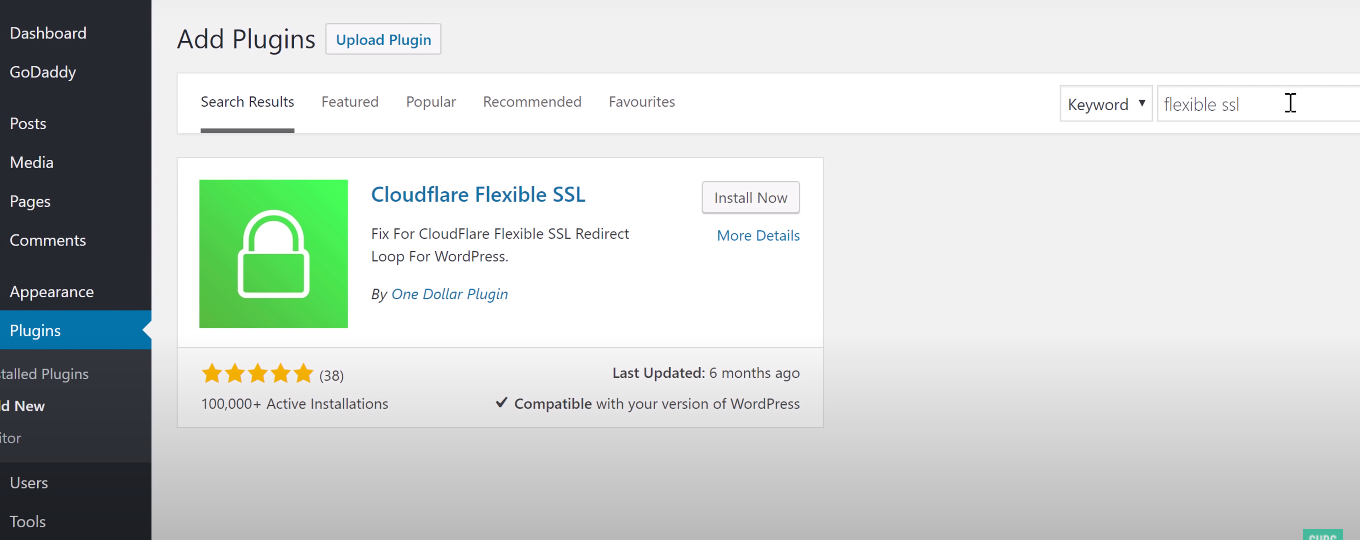
11. Look for Flexible SSL in the plugin search box, and you’ll see this plugin. Install and activate it.
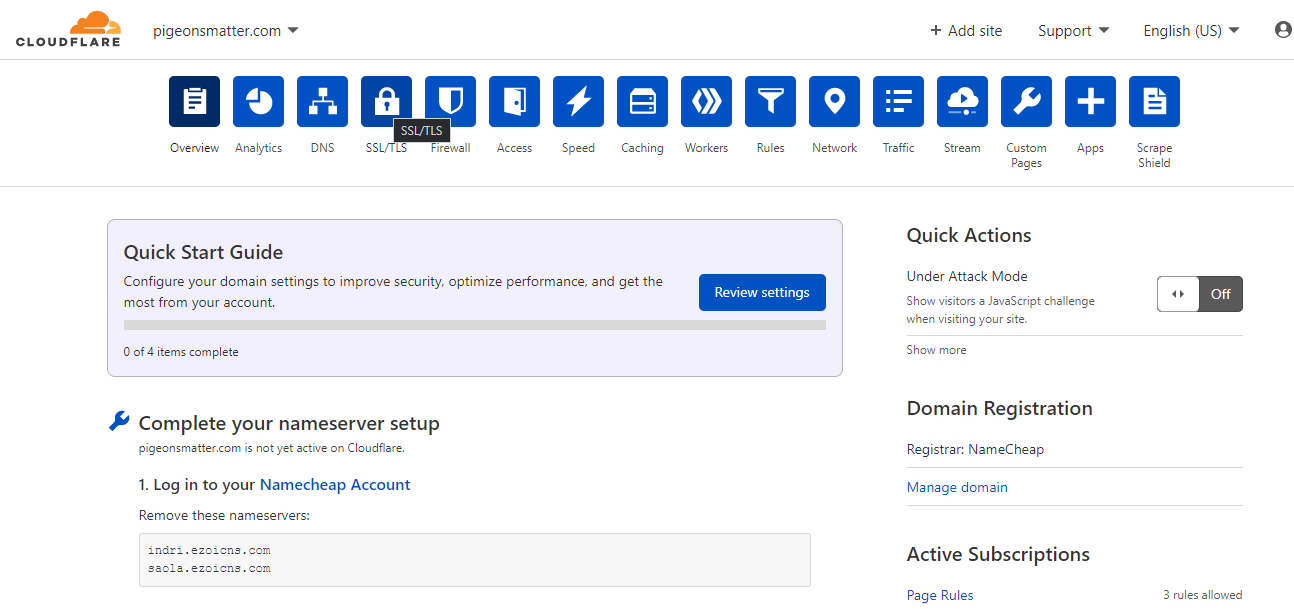
12. You can now enable the SSL from Cloudflare after installing the plugin. To do so, go to Cloudflare’s dashboard and click on the lock icon or SSL/TLS option.
13. Scroll down to the Always Use HTTPS and turn it on.
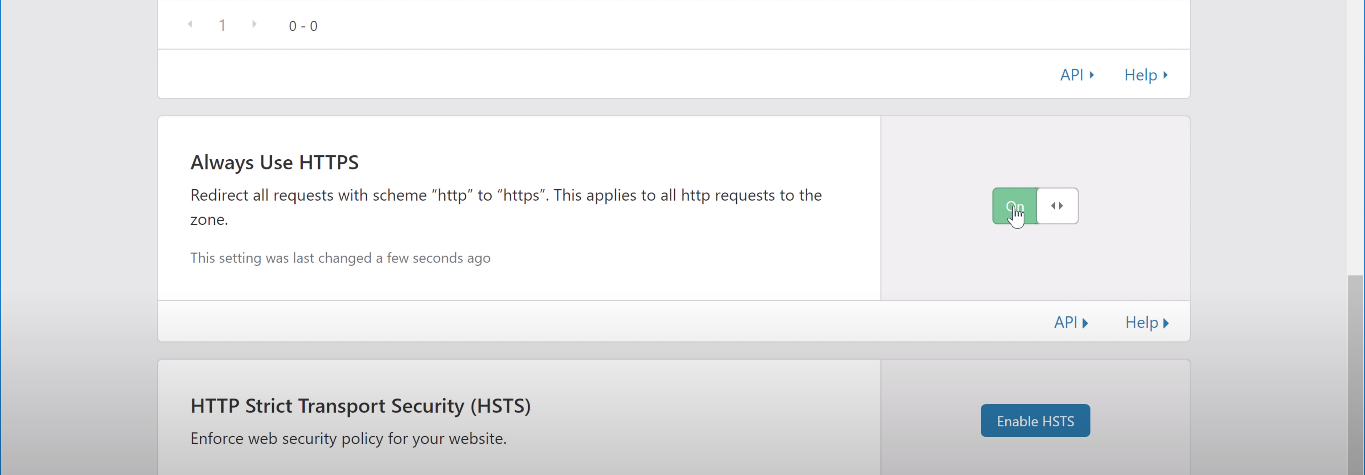
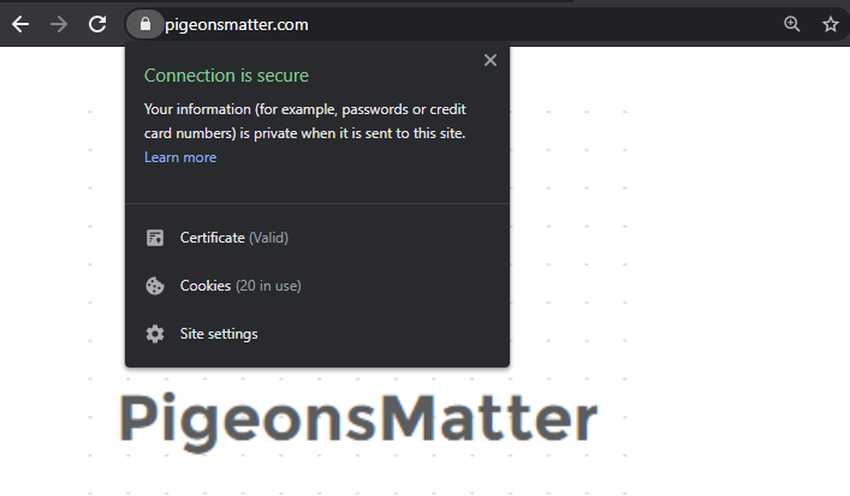
Once this is activated, your website is now secured with SSL. You can recheck it by going to your site and refreshing it if it’s already open. The Not Secure message will directly change to the secure lock symbol confirming successful SSL integration.
Installing SSL may cause your website to not load correctly. If that’s the case, wait a few minutes and reopen it with a different device to verify the configuration of the SSL certificate.
This is how you can get a Free SSL certificate for your WordPress website with Cloudflare.
Frequently Asked Questions
1. Do SSL certificates expire?
The validity period of SSL is from one to two years, and once it’s over, the SSL expires. After its expiry, your website no longer remains secure. So, always keep a look at the expiry date of SSL and try to renew it weeks before it expires.
2. Do SSL certificates work for subdomains?
To secure multiple subdomains associated with the main domain, you should choose a Wildcard SSL certificate. A Wildcard SSL secures all subdomains with a single certificate.
3. How much do premium SSL certificates cost?
The cost of SSL depends on your SSL provider, the type of certificate you’re looking for, and the number of domains you want to secure. For a single domain, dedicated SSL may cost around $ 6 to $ 10. However, the price for Wildcard SSL, securing unlimited domains simultaneously, starts at more than $ 50.
Installing SSL Certificate for Website Security
Installing SSL will make your website secure, stop breaches of data and make it more trustworthy. In addition, if you want your website to rank better in Google’s search results, installing SSL should be your priority.
Thus far, the process to install SSL on your website should be clear to you. However, if you encounter any difficulty setting it up, you can always contact your hosting provider and ask them to do it for you. They would be more than happy to assist you.
Now that you’ve secured your site, back it up to mitigate damage in the event of an unexpected crash or malicious attack.


